Github Pages, Cloudflare and Google Domains: Epic Win
As you probably already know, you can create your own website using a Github Repository. The only thing you need is a new repository named username.github.io, where username is your username on Github. Once created, as soon as you push your html files to the repository, your site will be up and running; you can check it out by typing in your browser http://yourusername.github.io. Easy, right?
Now that we have our site online, there are two things you should know about Github Pages:
- It doesn’t support
SSL. - If you want to configure an apex or a naked domain as a
Custom Domain, you will lose the benefits of Github’s CDN.
But don’t worry, we are going to solve these two points and gain even more features by combining Github Pages with Cloudflare.
#1 - Cloudflare: First Steps#
Firstly, you need to have a domain name purchased. In this guide we will be using Google Domains, as it’s incredibly easy to combine with Cloudflare and Github Pages. Let’s begin:
- Create a Cloudflare’s free acount.
- When asked, enter your site URL. Cloudflare will assign to you two DNS name servers that you will have to configure in your Google Domains account.
#2 - Google Domains: DNS Setup#
Log into your Google Domains account and follow the steps below:
- If you want to, you can go to
Configure emailand configure anAlias Email Address. - Go to
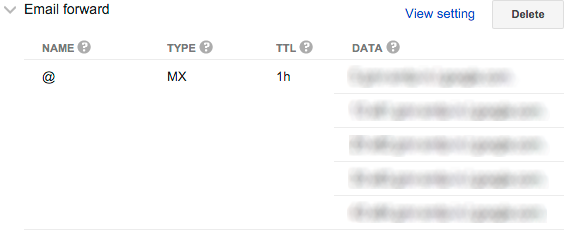
Configure DNSand selectUse custom name servers. Now, enter the two DNS name servers that Cloudflare assigned to your site previously. - Copy or take a screenshot of your data below
Email forward. In the next step, we will configure these entries on our Cloudflare account.
#3 - Cloudflare: Improving your Website#
####3.1 - Configuring a Naked Domain####
Log into your Cloudflare account and go to DNS. We will add two DNS Records in order to configure a Naked Domain (http://example.com) for our Github Page as follows (replace ‘alvarogonzalezalvarez.com’ with ‘yourdomainname.com’ and ‘alvarogonzalezalvarez.github.io’ with ‘yourgithubusername.github.io’):

####3.2 - Configuring Email Forwarding####
Now we are going to add the entries that we copied before from our Google Domains account (again, don’t forget to replace ‘alvarogonzalezalvarez.com’ with ‘yourdomainname.com’):
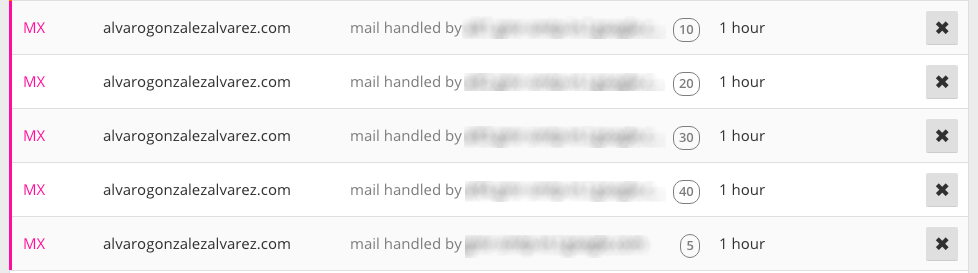
Note that these last DNS settings could take several hours to propagate.
####3.3 - Forcing SSL####
As we stated before, Github Pages doesn’t support https, but don’t panic; on Cloudflare, go to Page Rules and create a rule as follows (yes, I know you’ve already got it, but just in case, don’t forget to replace ‘alvarogonzalezalvarez.com’ with ‘yourdomainname.com’ :D):

####3.4 - Other Improvements: Caching, Minification, IPv6 Compatibility…####
There are also other features that you can enable with your Cloudflare’s free account:
- Caching: Inside
Page Rules, you can create a rule to cache everything and speed up your website. - Inside
Speed, I would recommend to activate JavaScript, CSS and HTML Minification. - Go to
Networkand enable IPv6 Compatibility.
Feel free to explore and find out other useful settings.
#4 - Github Pages: Creating the CNAME File#
And finally, the last step. Go to your Github repository: username.github.io, create a file named CNAME and add a single line that specifies your naked custom domain (example.com). For example:
yourdomainname.comNow, fire up your browser and test https://yourdomainname.com!
#CONCLUSION#
Congratulations. You have just created a website with the following features:
- A solid and free web hosting.
- SSL support.
- Naked Custom Domain with the benefits of Github’s CDN (www.yoursite.com will 301 redirect to https://yoursite.com).
- Email Forwarding.
- Automatic Javascript, CSS and HTML Minification.
- IPv6 Compatibility.
- Full caching.
Enjoy!